Bathrooms
How to maintain grout in kitchens and bathrooms
30.04.2018
Bathrooms
30.04.2018
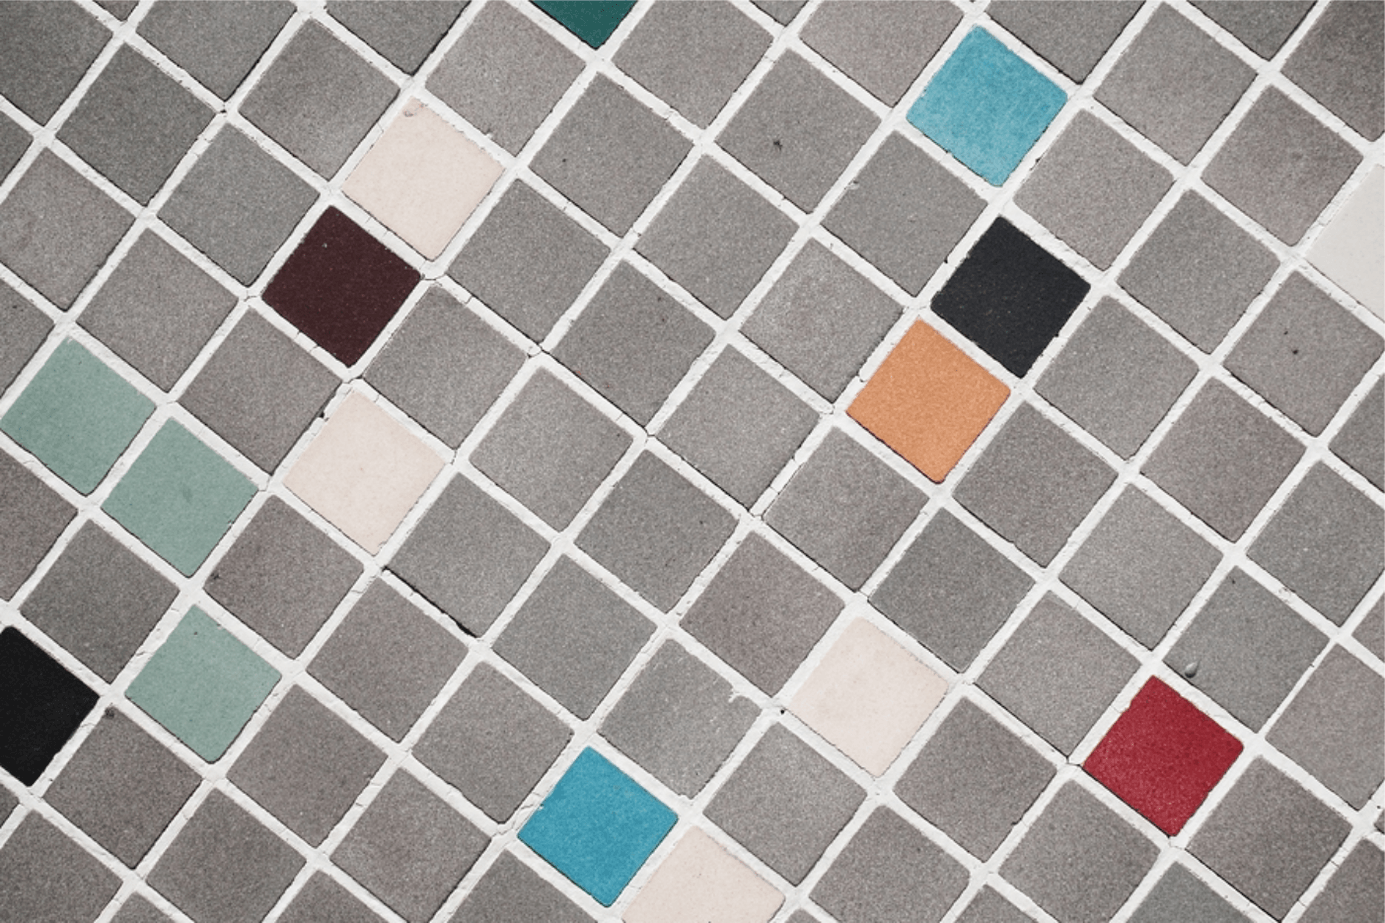
Grout presents a notoriously tricky problem in kitchens and bathrooms. It’s difficult to access, hard to keep clean, awkward to maintain, and it has a reputation for being one of the more arduous chores in household maintenance. Even the cleanest of tiles can be interspersed with unattractive grout lines. As such, the most luxurious spaces should boast pristine grout lines, each of them nestled between gorgeous tiles that bring colour and form to the room.
It may be the case that the grout in your space has become dirty or damaged over time. If so, we recommend that you approach the task of restoring it with the best tips and tricks in mind. Your grout may need cleaning or whitening for that impeccable appearance, or perhaps some spilled grout needs to be removed from the tile surface. Whatever grout problems you’re having, and wherever these problems are taking place, the solutions will be less fussy than you think. Here we have compiled simple answers to all of your most common grout maintenance issues in one place. Go and give your home the polished edge it deserves!
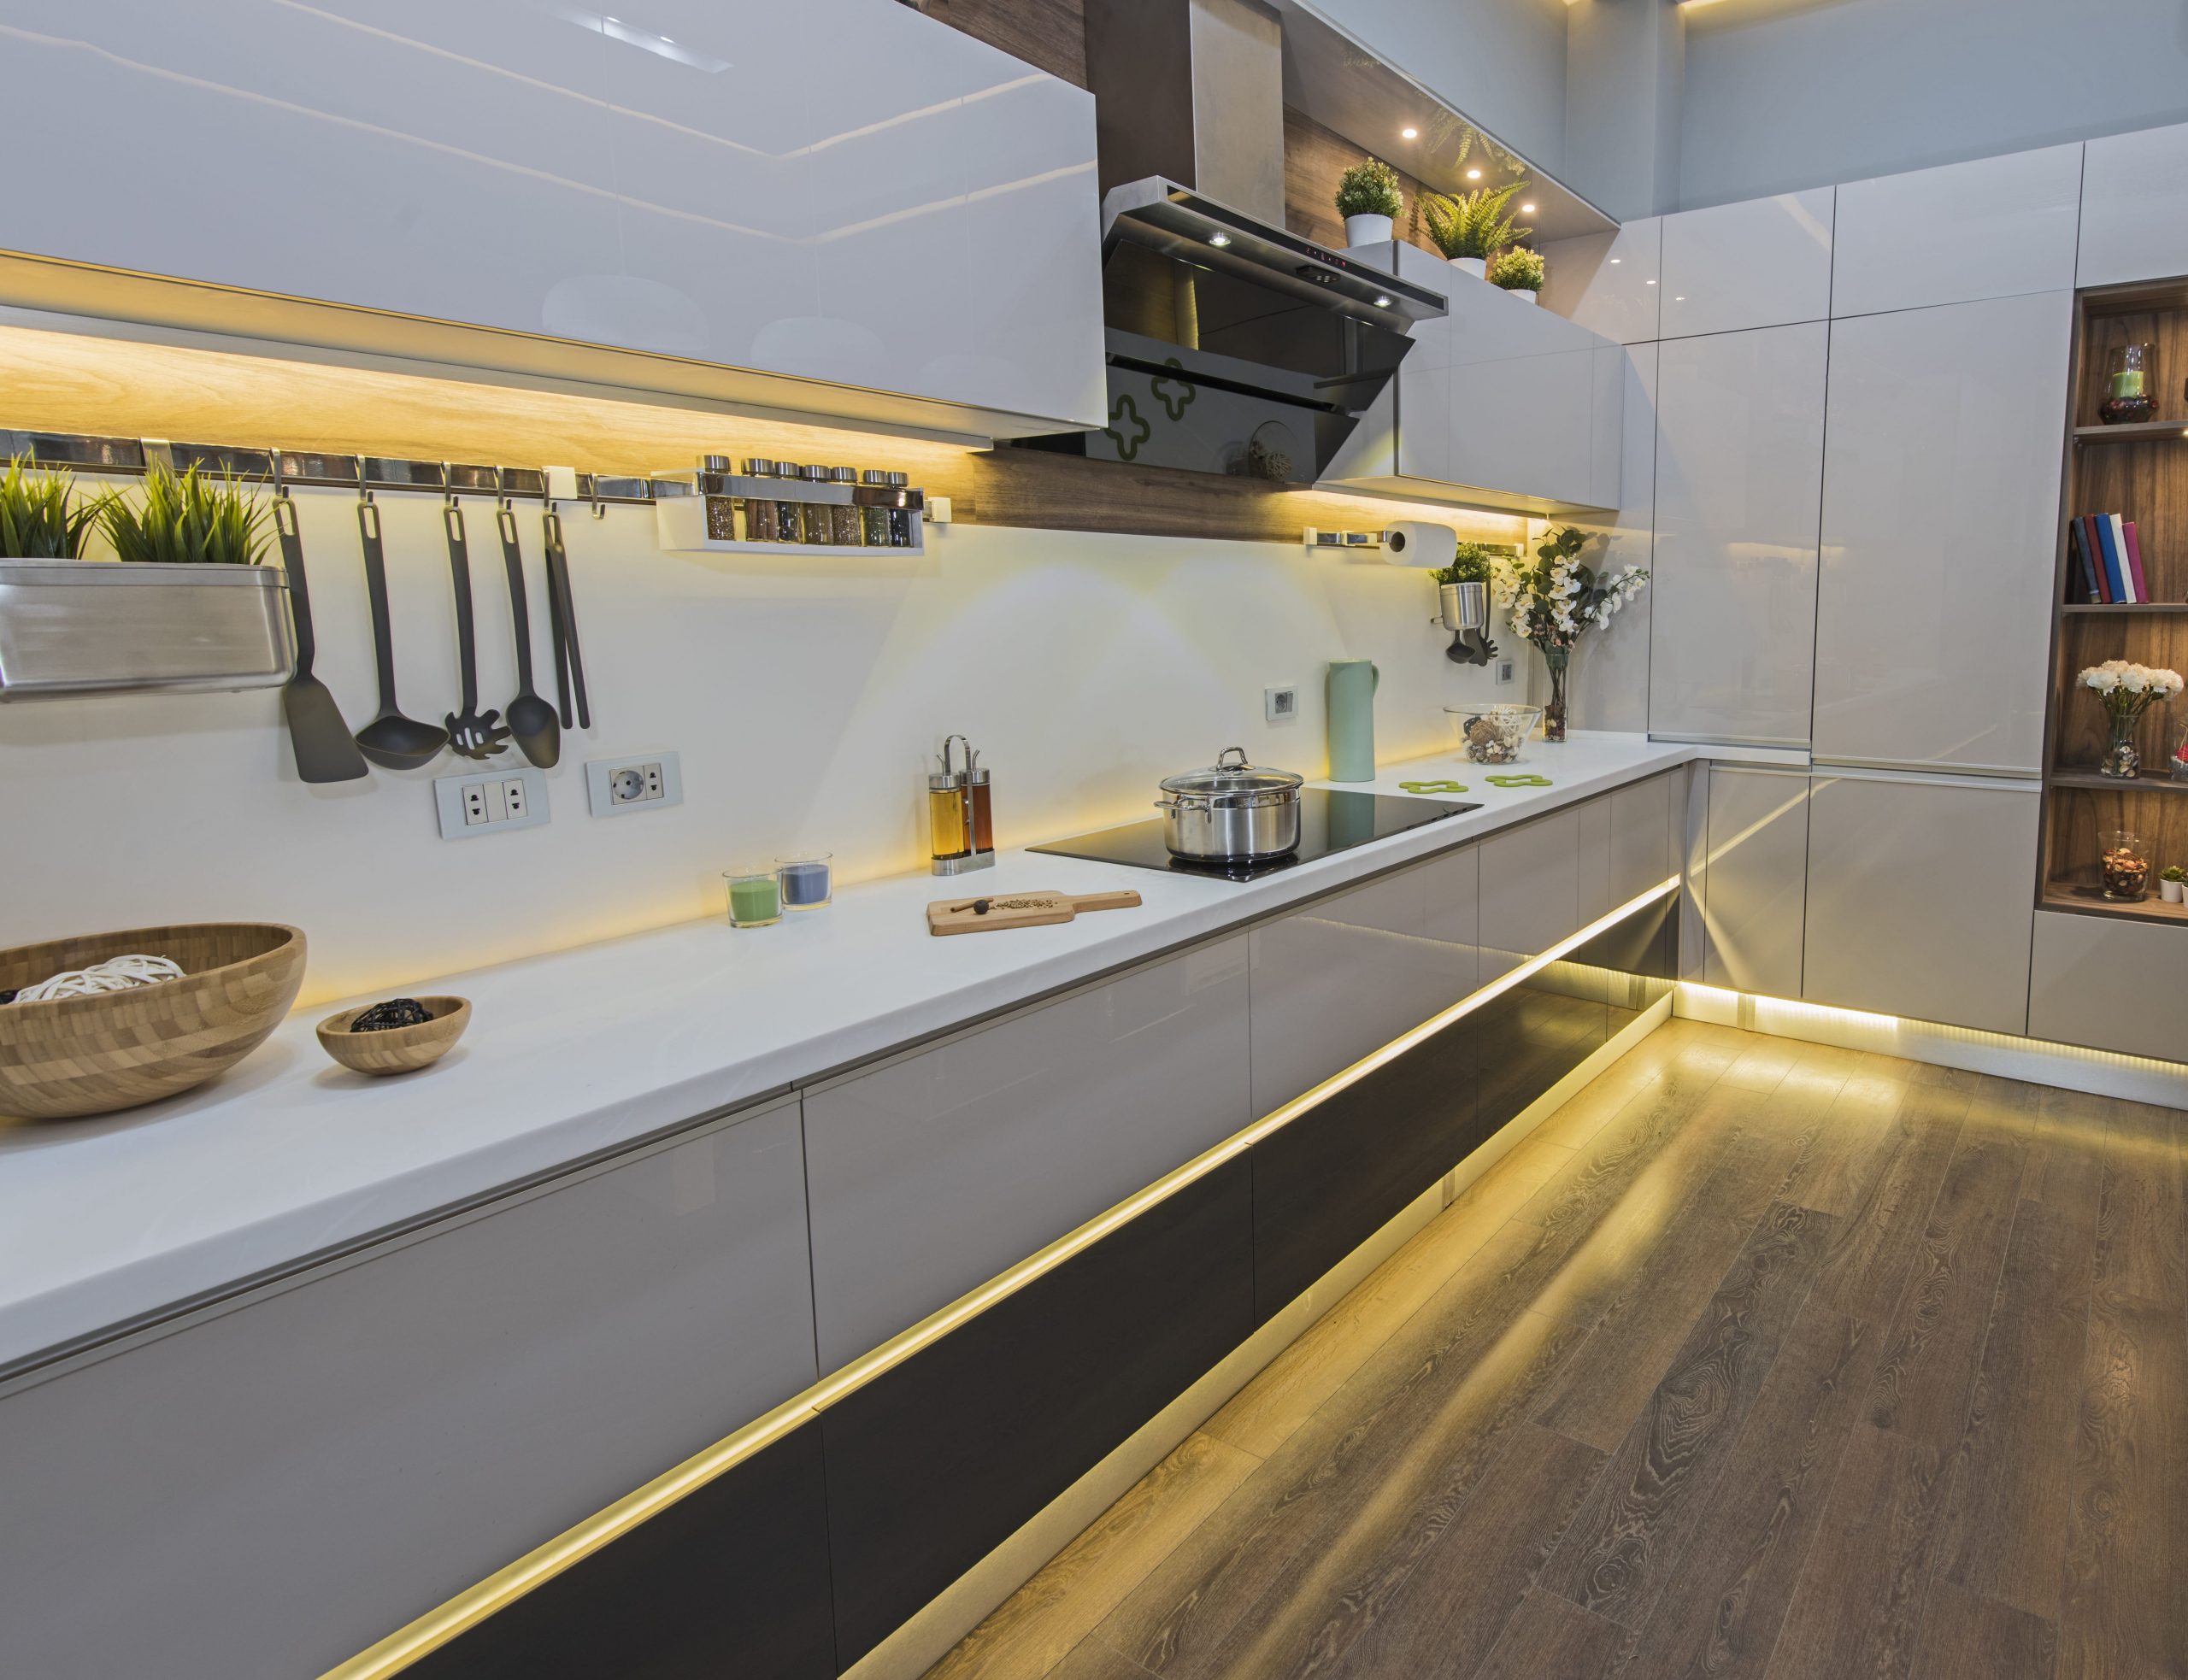
Maintaining grout is first and foremost about preventing grease, dirt, mould, and other nasties from building up and affecting your kitchen or bathroom in the first place. By being proactive, you can eliminate the need for maintenance altogether instead of waiting for issues to arise. Splashbacks (surfaces located behind hobs) made of tile are sure to get greasy very quickly, requiring daily maintenance in order to look presentable. But if you add a glass splashback, grease from your hob will not reach your grout lines and any mess can simply be wiped away.
Since the grout lines between tiles are recessed and narrow, mopping your floor or wiping your splashback may still leave the grout with blemishes and stains. Grout calls for special treatment, up close and personal. First of all, you should clean dirty grout lines before you go about cleaning the tiles themselves. You’ll need to tackle grout with a more precise tool such as an old toothbrush or a scrub brush, and use a specific cleaning solution or spray to remove the dirt. These are commercially available, although many use a 50-50 mix of white vinegar and water in a reused spray bottle. More acidic solutions can stain delicate and porous tiles such as marble or stone, so homemade paste with ⅓ hydrogen peroxide and ⅔ baking soda is more suitable.
Once you’ve decided on a solution you should spray it onto your grout lines and leave it to rest for a few minutes before scrubbing it in using the right brush (don’t use an abrasive brush). Dirtier grout lines may require the mixture being left to soak in overnight before scrubbing. Once the surface from smelling bleach-y or vinegar-y!
When applying grout between your tiles, it is easy for grout to splatter onto the tile surface and get stuck. This will leave your tiles with imperfections which you should promptly remove. Excess grout that has been left for too long will dry up and become much harder to remove from the tile surface, so you need to act quick. You can simply wipe the excess grout from the tile surface with a wet cloth if you catch it quickly, but the main problems arise when you leave the grout long enough for it to completely harden. What should you do in such cases?
The main point here is to remove the hardened grout without causing damage to the tile. This means that you should avoid using hard metal tools and brute force scraping. Instead, consider using softer tools such as nylon scrubbers, wood chisels, or wire wool. Before scrubbing away, you need to soften the grout and loosen it from the tile surface. The least harmful option is plain old warm water, although this may not be effective in many cases. Vinegar, brick cleaner, or water mixed with sugar are other loosening agents you may use. But ultimately, the exact tools and solutions that you use will depend on the kind of tiles you have and how sensitive they are.
Apply your chosen solution to the grout with a sponge and leave it to soak for an hour before scrubbing. The more lubricated the excess grout, the more chance of it being removed and, consequently, the less chance of you damaging the tile surface. Use your chosen tool to loosen the grout: take it slowly so as not to cause unnecessary scratches and make sure to keep the grout wet throughout. You may have to try different tools and solutions before finding any success – it’s a trial and error process! Furthermore, if scraping the grout, make sure to keep your tool at an acute angle to the tile surface for the best results.
Grout has a tendency to become stained and discoloured as a result of household spills and general wear and tear, but it is possible to reclaim that gleaming white look with a few tricks. Even cleaning dirty grout lines can leave your grout looking clean, but not brand spanking new – this look requires a little extra effort on top of your cleaning efforts. But don’t worry… it’s worth it. Whitening tile grout to full effect may require the use of a commercial grout colourant or paint. After choosing the best product for your tiles (in terms of colour, thickness, durability, etc.) and ensuring that your grout is clean, sealed, and undamaged, it’s time to apply the whitening agent.
Using a small paint brush or foam brush that fits perfectly in between your tiles, gently brush the whitener onto the grout in long strokes. Make sure that you apply it evenly and accurately to guarantee the best results and minimise clean-up. You may want to tape off each tile first, although excess paint on your tiles can be wiped off with ease. Leave the whitener to dry for over an hour and, if it seems necessary, apply a second coat. For the sake of durability, you should finish the job off by resealing the grout. You don’t just want your tile grout to look white, but also stay white. Finally, give the tiles a clean, take a step back, and admire the way they pop thanks to your fresh new grout lines!
For a helping hand with designing a kitchen, get in touch with the award-winning team at Burnhill Kitchens for a friendly chat with a professional designer! We’ll be happy to offer you our expertise in all things interior design.

WE ARE OPEN
Stay safe. Sam and the Team
CONTACT US